Hello everyone, I'm Cathy. death by chocolate ice cream sounds like a dessert designed by a child who was told to choose one topping, then added six more. In my house, that is considered a reasonable starting point. This no-churn version uses condensed milk, cocoa, melted chocolate, and whipped cream, so you do not need an ice cream machine or a spare afternoon. You need one mixing bowl, one loaf pan, and enough freezer space to hide it from the children.
The result is dense, smooth, and properly chocolatey rather than merely brown. I serve it after spicy noodles, burgers, or the kind of weeknight dinner where everyone ate at a different time. Let the ice cream sit on the counter for five minutes before scooping. This matters because frozen dairy is not impressed by your schedule.
Ingredients and the chocolate choices that matter
For about 10 servings, use two cups of heavy whipping cream, one 14-ounce can of sweetened condensed milk, one-half cup unsweetened cocoa powder, six ounces of semisweet chocolate, one teaspoon vanilla extract, and one-quarter teaspoon fine salt. I like chocolate in the 60 to 70 percent range. It gives the ice cream a deep flavor without making the whole batch taste like unsweetened baking chocolate.
Use regular unsweetened cocoa, not hot cocoa mix. Hot cocoa powder contains sugar and often powdered milk, which changes the texture and makes the finished dessert softer. Dutch-process cocoa works well if that is what you have, but natural cocoa gives a slightly sharper chocolate flavor. I have made this with store-brand ingredients and with organic dairy. Both batches disappeared before breakfast, although I did not serve the second one at breakfast.
For the mix-ins, choose up to one cup total: mini chocolate chips, chopped chocolate wafers, toasted almonds, crushed chocolate sandwich cookies, or small brownie pieces. Keep the pieces small. A frozen chunk the size of a golf ball is not a topping; it is an equipment failure waiting for a front tooth.
How to make death by chocolate ice cream
First, melt the semisweet chocolate. Chop it into small pieces and place it in a microwave-safe bowl. Heat for 30 seconds, stir, then continue in 15-second intervals until smooth. Let it cool for five minutes. Warm chocolate mixed directly into cold cream can create little hard flecks, which are not dangerous but make the texture less elegant.
In a large bowl, whisk the condensed milk, cocoa powder, vanilla, salt, and cooled melted chocolate. Whisk until no dry cocoa pockets remain. The mixture should look glossy and thick, almost like loose pudding. If you see stubborn cocoa lumps, press them against the side of the bowl with the whisk. Do not add extra milk to fix this; that makes the final ice cream icy.
In a separate bowl, beat the heavy cream with a hand mixer on medium-high speed until it forms firm peaks. This usually takes three to four minutes. Stop when the cream holds its shape. If it looks grainy, you have gone too far and are heading toward butter. Add one-third of the whipped cream to the chocolate mixture and stir firmly to lighten it. Fold in the rest gently with a rubber spatula.
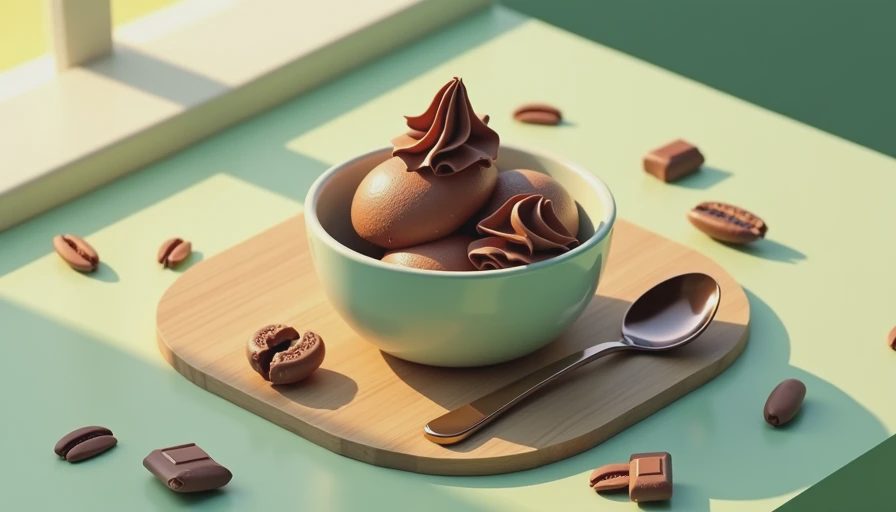
Fold in your chosen mix-ins, then scrape the mixture into a nine-by-five-inch metal loaf pan. Press plastic wrap directly onto the surface, add a second covering over the pan, and freeze for at least six hours. Overnight is better. The direct wrap reduces ice crystals and keeps the top from picking up every smell in your freezer, including the mysterious frozen onion situation in the back.
The mistakes I made the first time
The first time I made death by chocolate ice cream, I used a glass baking dish because the loaf pan was holding banana bread. The ice cream eventually froze, but it took nearly 10 hours and the edges became hard before the center was ready. A shallow metal pan chills faster and gives you more even scoops. If glass is your only option, allow extra freezing time and do not fill the dish too deeply.
My second mistake was adding warm chocolate to the whipped cream. The chocolate seized into tiny bits, and the children announced that the dessert had “rocks.” They still ate it, naturally, but I wanted a smoother result. Cool the melted chocolate until it feels barely warm when you touch the outside of the bowl. That small pause prevents a disappointing texture.
Another common problem is under-whipped cream. Soft peaks do not hold enough air, so the ice cream freezes harder and feels dense. Firm peaks are the goal, but stop before the cream turns lumpy. The base should fold together easily without losing all its volume.
Toppings, portions, and serving time
Death by chocolate ice cream is already rich, so toppings should add contrast rather than another sugar avalanche. Fresh raspberries, sliced strawberries, roasted peanuts, or a few flakes of flaky salt work beautifully. For a birthday, I add chocolate curls and a spoonful of warm fudge sauce. For Tuesday, I use whatever spoon is clean and call it finished.
A standard scoop is enough for smaller children because the flavor is intense. Teenagers will request two scoops, then inspect the freezer for a third when they think nobody is watching. Serve it in chilled bowls if your kitchen is warm. A wide, shallow bowl melts faster than a narrow glass, so use a cereal bowl for a family dessert and a small cup for a slower eater.
If the ice cream is difficult to scoop, leave it at room temperature for five to eight minutes. Do not microwave the entire pan. I know this because I tried it once while answering a school email, and the outside melted before I found the right button. Scoop only what you need, then return the pan to the freezer immediately.

Storage and easy variations
Stored tightly covered, death by chocolate ice cream is best within two weeks, although it is safe longer if kept consistently frozen. After several weeks, ice crystals become more noticeable and the chocolate flavor loses some brightness. Pressing plastic wrap onto the surface each time you cover the pan helps protect the texture.
For mocha ice cream, dissolve one teaspoon of instant espresso powder into the condensed milk. The finished dessert will not taste like coffee; the espresso simply makes the chocolate taste darker. For mint chocolate, add one-quarter teaspoon peppermint extract and use chopped dark chocolate. Do not pour in a large amount of liquid extract, because extra liquid can make the frozen texture harder.
To make a peanut butter version, warm one-half cup creamy peanut butter and swirl it through the finished mixture before freezing. Use a thin ribbon rather than large spoonfuls, which freeze into chewy blocks. You can also replace half the semisweet chocolate with milk chocolate for a sweeter, softer dessert that younger kids usually prefer.
Death by chocolate ice cream earns its dramatic name because every spoonful contains real cocoa, melted chocolate, and cream. It is not difficult, but the order matters: cool the chocolate, whip the cream firmly, fold gently, and freeze patiently. Make it in the morning for dinner, or after dinner for tomorrow. Either way, label the pan clearly if you want any left.
Kitchen tip: Hide one scoop behind the frozen vegetables; nobody in this family ever checks there.