Hello everyone, I'm Cathy. This nilla wafer recipe makes a thin, crisp vanilla cookie that tastes like the one from the yellow box, only fresher and less sweet. My kids eat them by the handful, and I use them for banana pudding when somebody remembers dessert an hour before dinner. The dough comes together in one bowl, and you do not need a stand mixer. The first time I made these, I baked them on a dark pan and pulled them out too late. They were delicious, but they had the structural integrity of a hockey puck. Use a light-colored baking sheet and watch the edges.
Ingredients for Homemade Nilla Wafers
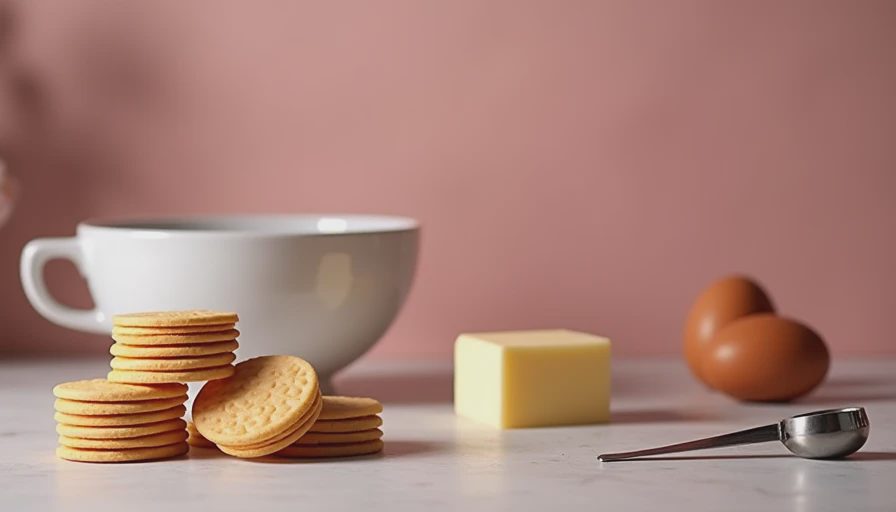
For this nilla wafer recipe, gather 1 1/2 cups all-purpose flour, 1/2 teaspoon baking powder, and 1/4 teaspoon fine salt. You also need 1/2 cup unsalted butter, softened but not melted, 3/4 cup granulated sugar, one large egg, two teaspoons pure vanilla extract, and two tablespoons milk.
That is the whole list. I use organic flour, butter, and eggs when the price difference is reasonable, but the recipe does not require specialty ingredients. Vanilla extract gives a rounder flavor than imitation vanilla, although imitation will still produce a familiar cookie. If you only have salted butter, reduce the added salt to a pinch.
Let the butter sit at room temperature for about 30 minutes. Press it with a finger; it should give easily without looking shiny or greasy. Soft butter creams properly with the sugar, while melted butter makes thin cookies that spread into one large cookie on the tray. I have made that mistake while answering a school email. The email was not important enough to justify losing a batch.

How to Make This Nilla Wafer Recipe
Heat the oven to 350 degrees F. Line two light-colored baking sheets with parchment paper. In a small bowl, whisk together the flour, baking powder, and salt. In a larger bowl, beat the softened butter and sugar with a hand mixer on medium speed for about two minutes, until pale and fluffy.
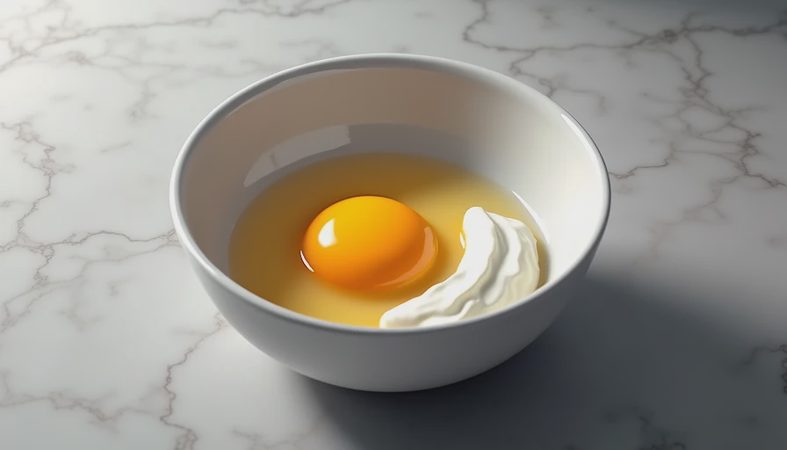
Add the egg and vanilla, then beat until smooth. Add the dry ingredients in two additions, mixing on low just until no dry flour remains. Pour in the milk and mix briefly. The dough should be soft enough to scoop but firm enough to hold a small mound. If it looks stiff or crumbly, add another teaspoon of milk. Do not keep mixing after the flour disappears, or the cookies become tough.
Scoop the dough by rounded teaspoons, about two teaspoons per cookie, onto the prepared sheets. Leave two inches between portions because they spread. For especially neat wafers, place the dough in a piping bag fitted with a plain round tip and pipe small circles. A teaspoon and a slightly imperfect shape work perfectly for a Tuesday afternoon.
Bake one sheet at a time for 10 to 12 minutes. The centers should look set, and the edges should be lightly golden. Do not wait for the whole cookie to turn brown. Let the wafers cool on the baking sheet for five minutes, then move them to a wire rack. They crisp as they cool. This nilla wafer recipe makes about 36 small cookies, depending on how generous your scoops are.
Why These Cookies Turn Crisp
The thin shape is doing most of the work. Smaller portions spread into a wider cookie, allowing moisture to escape quickly in the oven. That is why a rounded teaspoon is better than a full tablespoon. The modest amount of milk adds tenderness to the dough without leaving the finished wafers soft.
Sugar also affects the texture. Granulated sugar helps the edges spread and gives the cookies their delicate snap. Powdered sugar would make a softer, more melt-in-your-mouth cookie, which is nice in other recipes but not what we want here. The nilla wafer recipe is designed for a clean break and a vanilla flavor that does not overpower pudding, ice cream, or coffee.
For even browning, rotate the pan halfway through baking only if your oven has a hot spot. Opening the door too often lets out heat and can extend the baking time. I keep one test cookie near the back corner of the pan. If it browns much faster than the others, I know the next tray needs a half-turn.
Troubleshooting Common Problems
If your nilla wafer recipe spreads too much, the butter was likely too warm or the dough sat near a hot oven. Chill the scooped dough for 15 minutes, then bake. Also measure flour by spooning it into a cup and leveling the top; packing flour into the cup can make the dough dense, but it will not cause spreading.
If the cookies stay soft after cooling, bake the next tray for one or two additional minutes. Humid weather can also soften crisp cookies after they cool. Let them sit uncovered for 20 minutes, then transfer them to an airtight container. If the wafers taste dry or hard, the dough was overmixed or the cookies stayed in the oven too long. Pull them when only the edges show color.
For banana pudding, bake the cookies on the lighter side because they will absorb moisture from the custard. For eating plain, let them reach a gentle golden color around the rim. The nilla wafer recipe is forgiving, but the final minute changes the texture more than you might expect.
Serving and Storing the Cookies
Serve these wafers with coffee, hot chocolate, or a scoop of vanilla ice cream. Crumble them over yogurt with sliced strawberries, or layer them into banana pudding with bananas and vanilla custard. My youngest likes two cookies sandwiching a little peanut butter, which is not traditional but disappears quickly.
Store completely cooled cookies in an airtight container at room temperature for up to five days. Add a small piece of parchment between layers if you are stacking them. Do not refrigerate them; the moisture in the refrigerator makes crisp cookies limp. You can freeze the baked wafers in a sealed freezer bag for up to two months. Thaw them at room temperature and leave the bag open for a few minutes so condensation does not collect inside.
You can also freeze scooped dough. Arrange portions on a tray, freeze until firm, and move them to a freezer bag. Bake from frozen at 350 degrees F, adding two or three minutes to the usual time. This nilla wafer recipe is useful for that reason: a small batch can become a fresh after-school snack without starting over.
My Practical Pantry Notes
I buy vanilla extract in a small bottle because it is easy to use too much and expensive to replace. A good vanilla flavor should sit behind the butter, not taste sharp. For flour, an ordinary all-purpose brand works well. Save premium ingredients for recipes where they are the main event.
If you are baking for a crowd, double the recipe and mix each batch separately. Two trays can bake one after another, but crowded oven racks often brown unevenly. Write the date on the storage container if you are freezing them. Nobody wants to discover a mystery bag of cookies after the freezer has become a science experiment.
This nilla wafer recipe gives you a reliable homemade cookie with familiar flavor, simple ingredients, and no complicated equipment. Make the wafers small, watch the last two minutes, and let them cool before judging the crunch. Kitchen tip: when the kids say they are saving cookies for later, count them first.